Cinderella Shoes

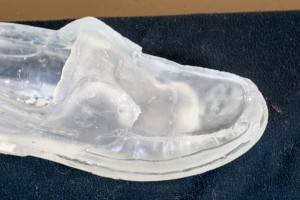 I made these shoes as a gift for Alex, Christmas, 2013. I had previously cast a pair of my own shoes in glass, with what I thought were mixed results — the details were great, but I thought there was still room for perfection. Besides that, my shoes were intended as a form of irony, how in the world can I wear a glass slipper?
With this in mind, I set out to replicate the process to create a pair of genuine glass slippers. Here is how I did it.
First, Kathy donated a pair of Alex’s slippers. The shoes really get destroyed in the process by the plaster and water, and they can’t really be recovered.
In order to cast the shoe in glass, we have to create a plaster/silica mold with a hollow space in the form of the shoes. We’ll fill that with melted glass in the kiln, and the end result when the glass is cooled will be a beautiful pair of cinderella slippers. Great! But how do we make that mold.
The technique I used is based on the lost wax method, which I generally use for everything I do. The idea here is that we recreate the shoes in wax, pour a plaster/silica mix around the wax, and when the plaster/silica hardens, melt out the wax.
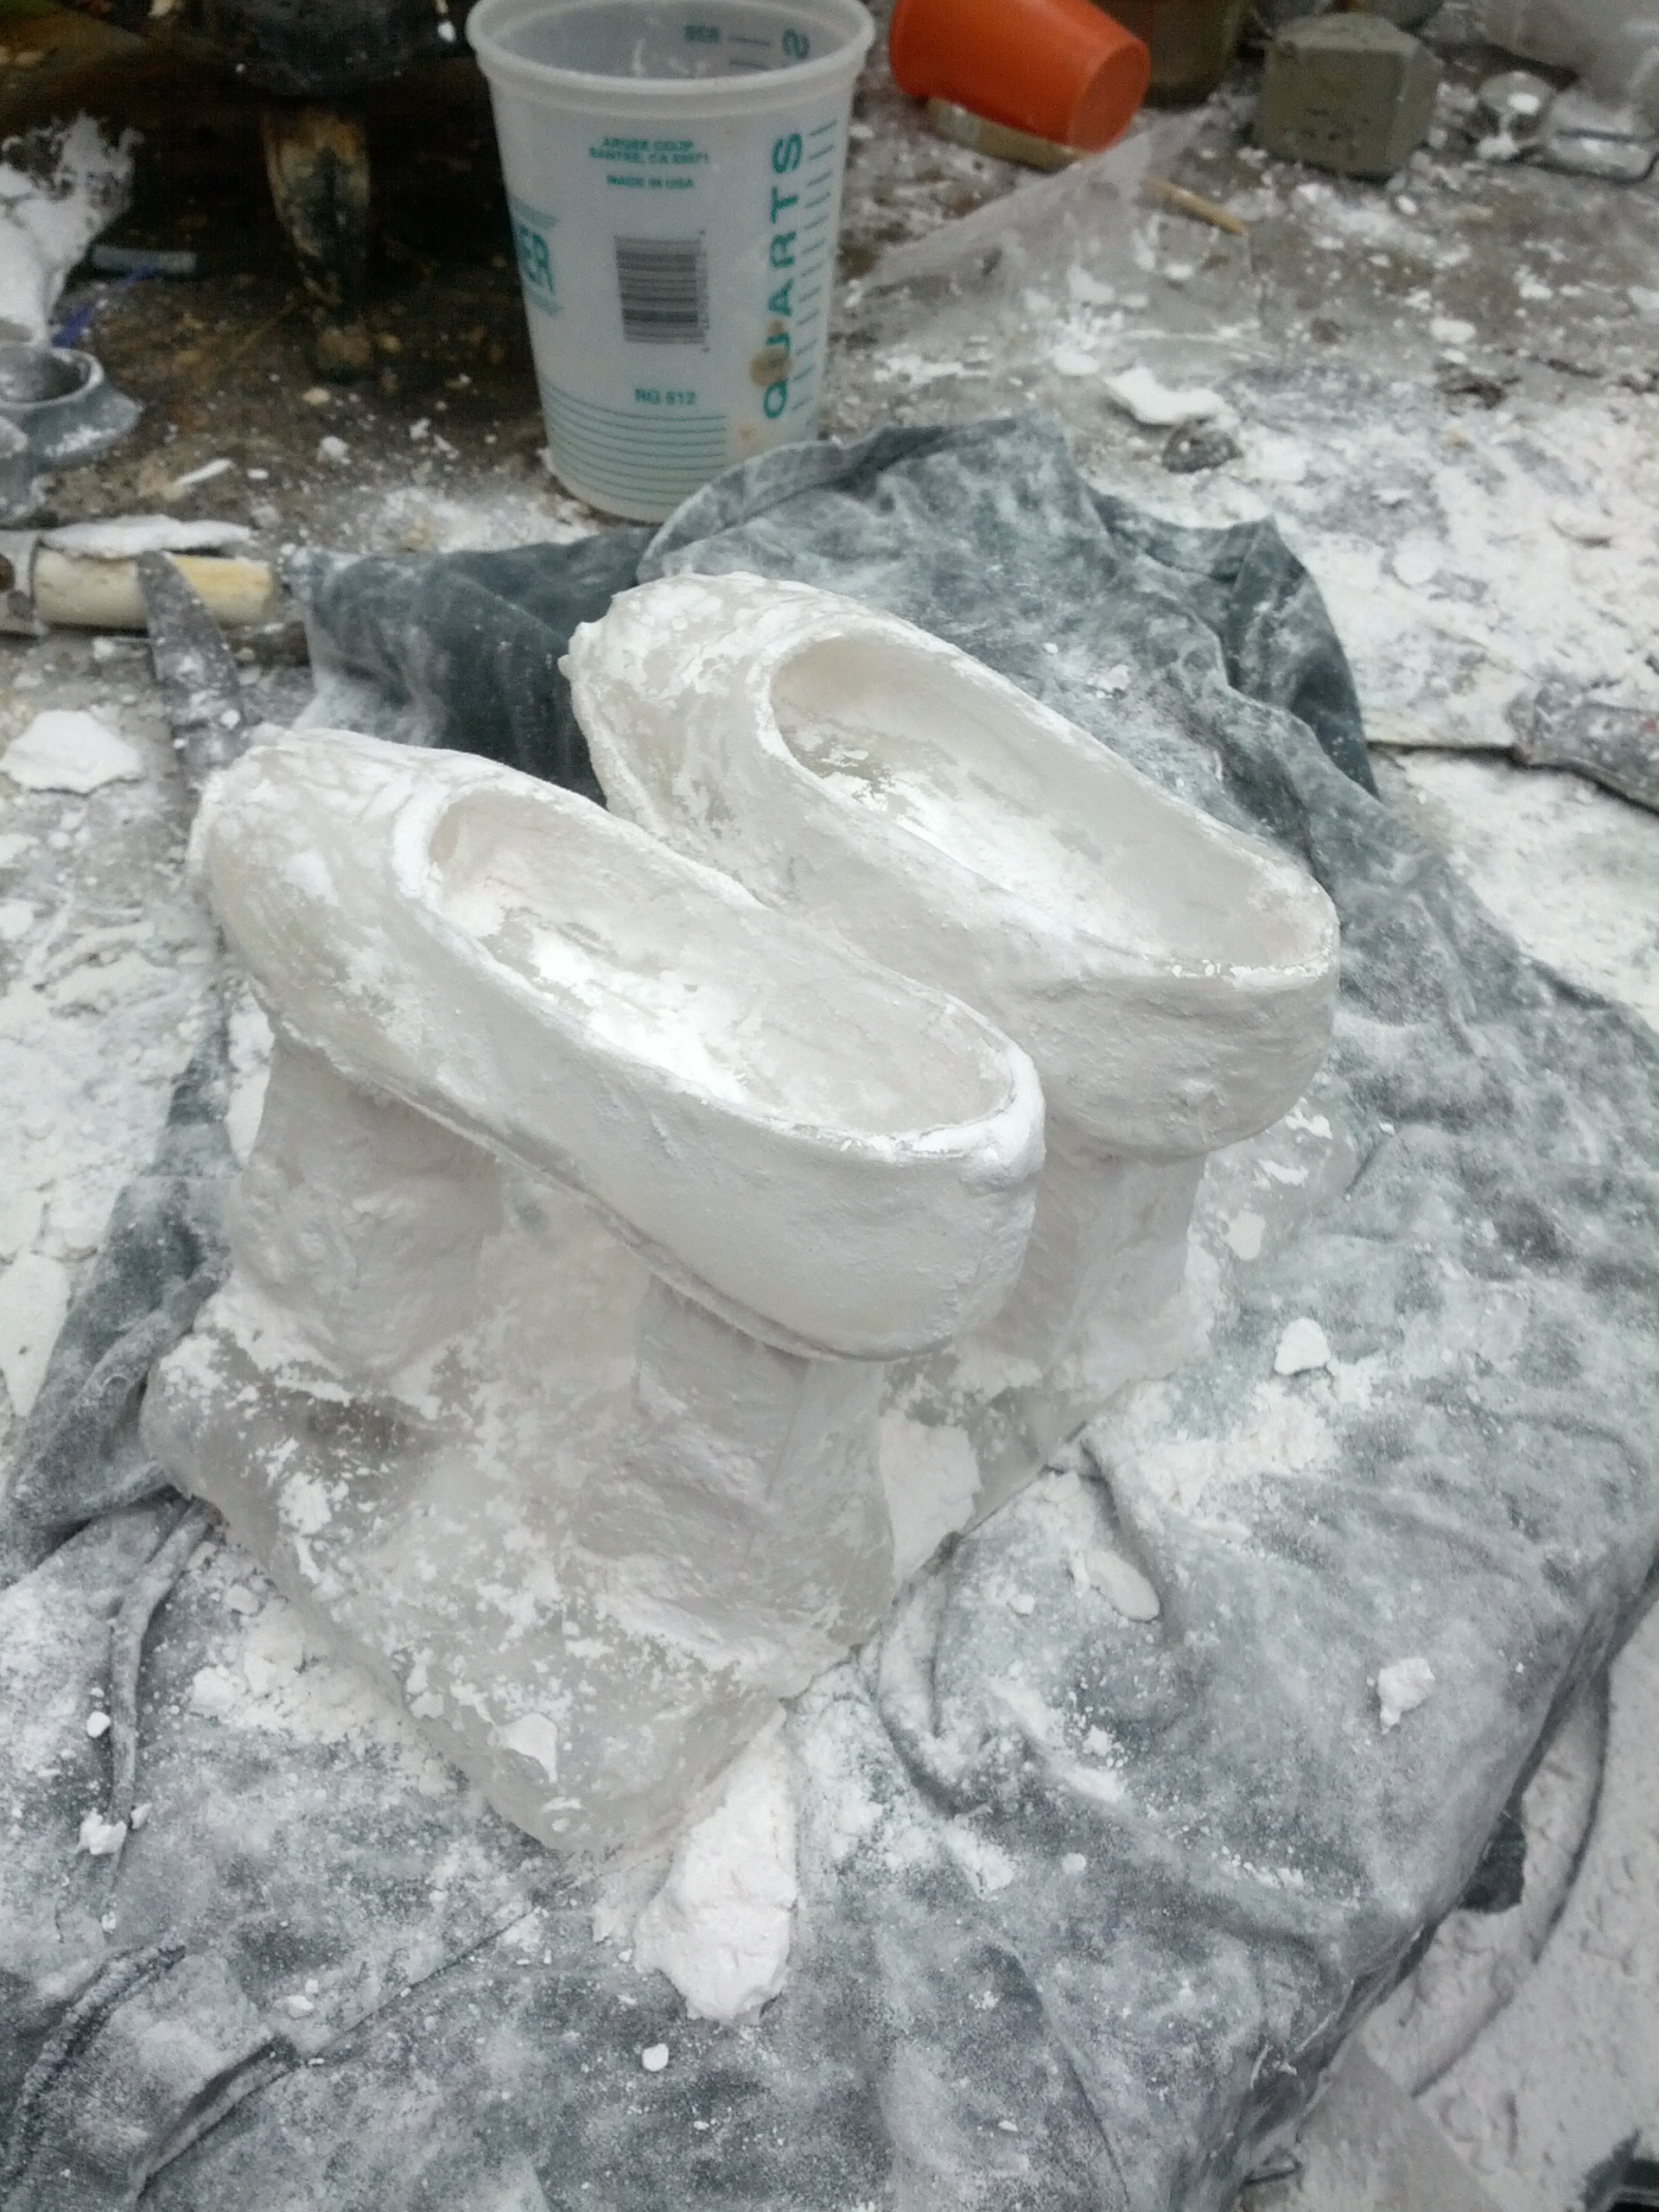
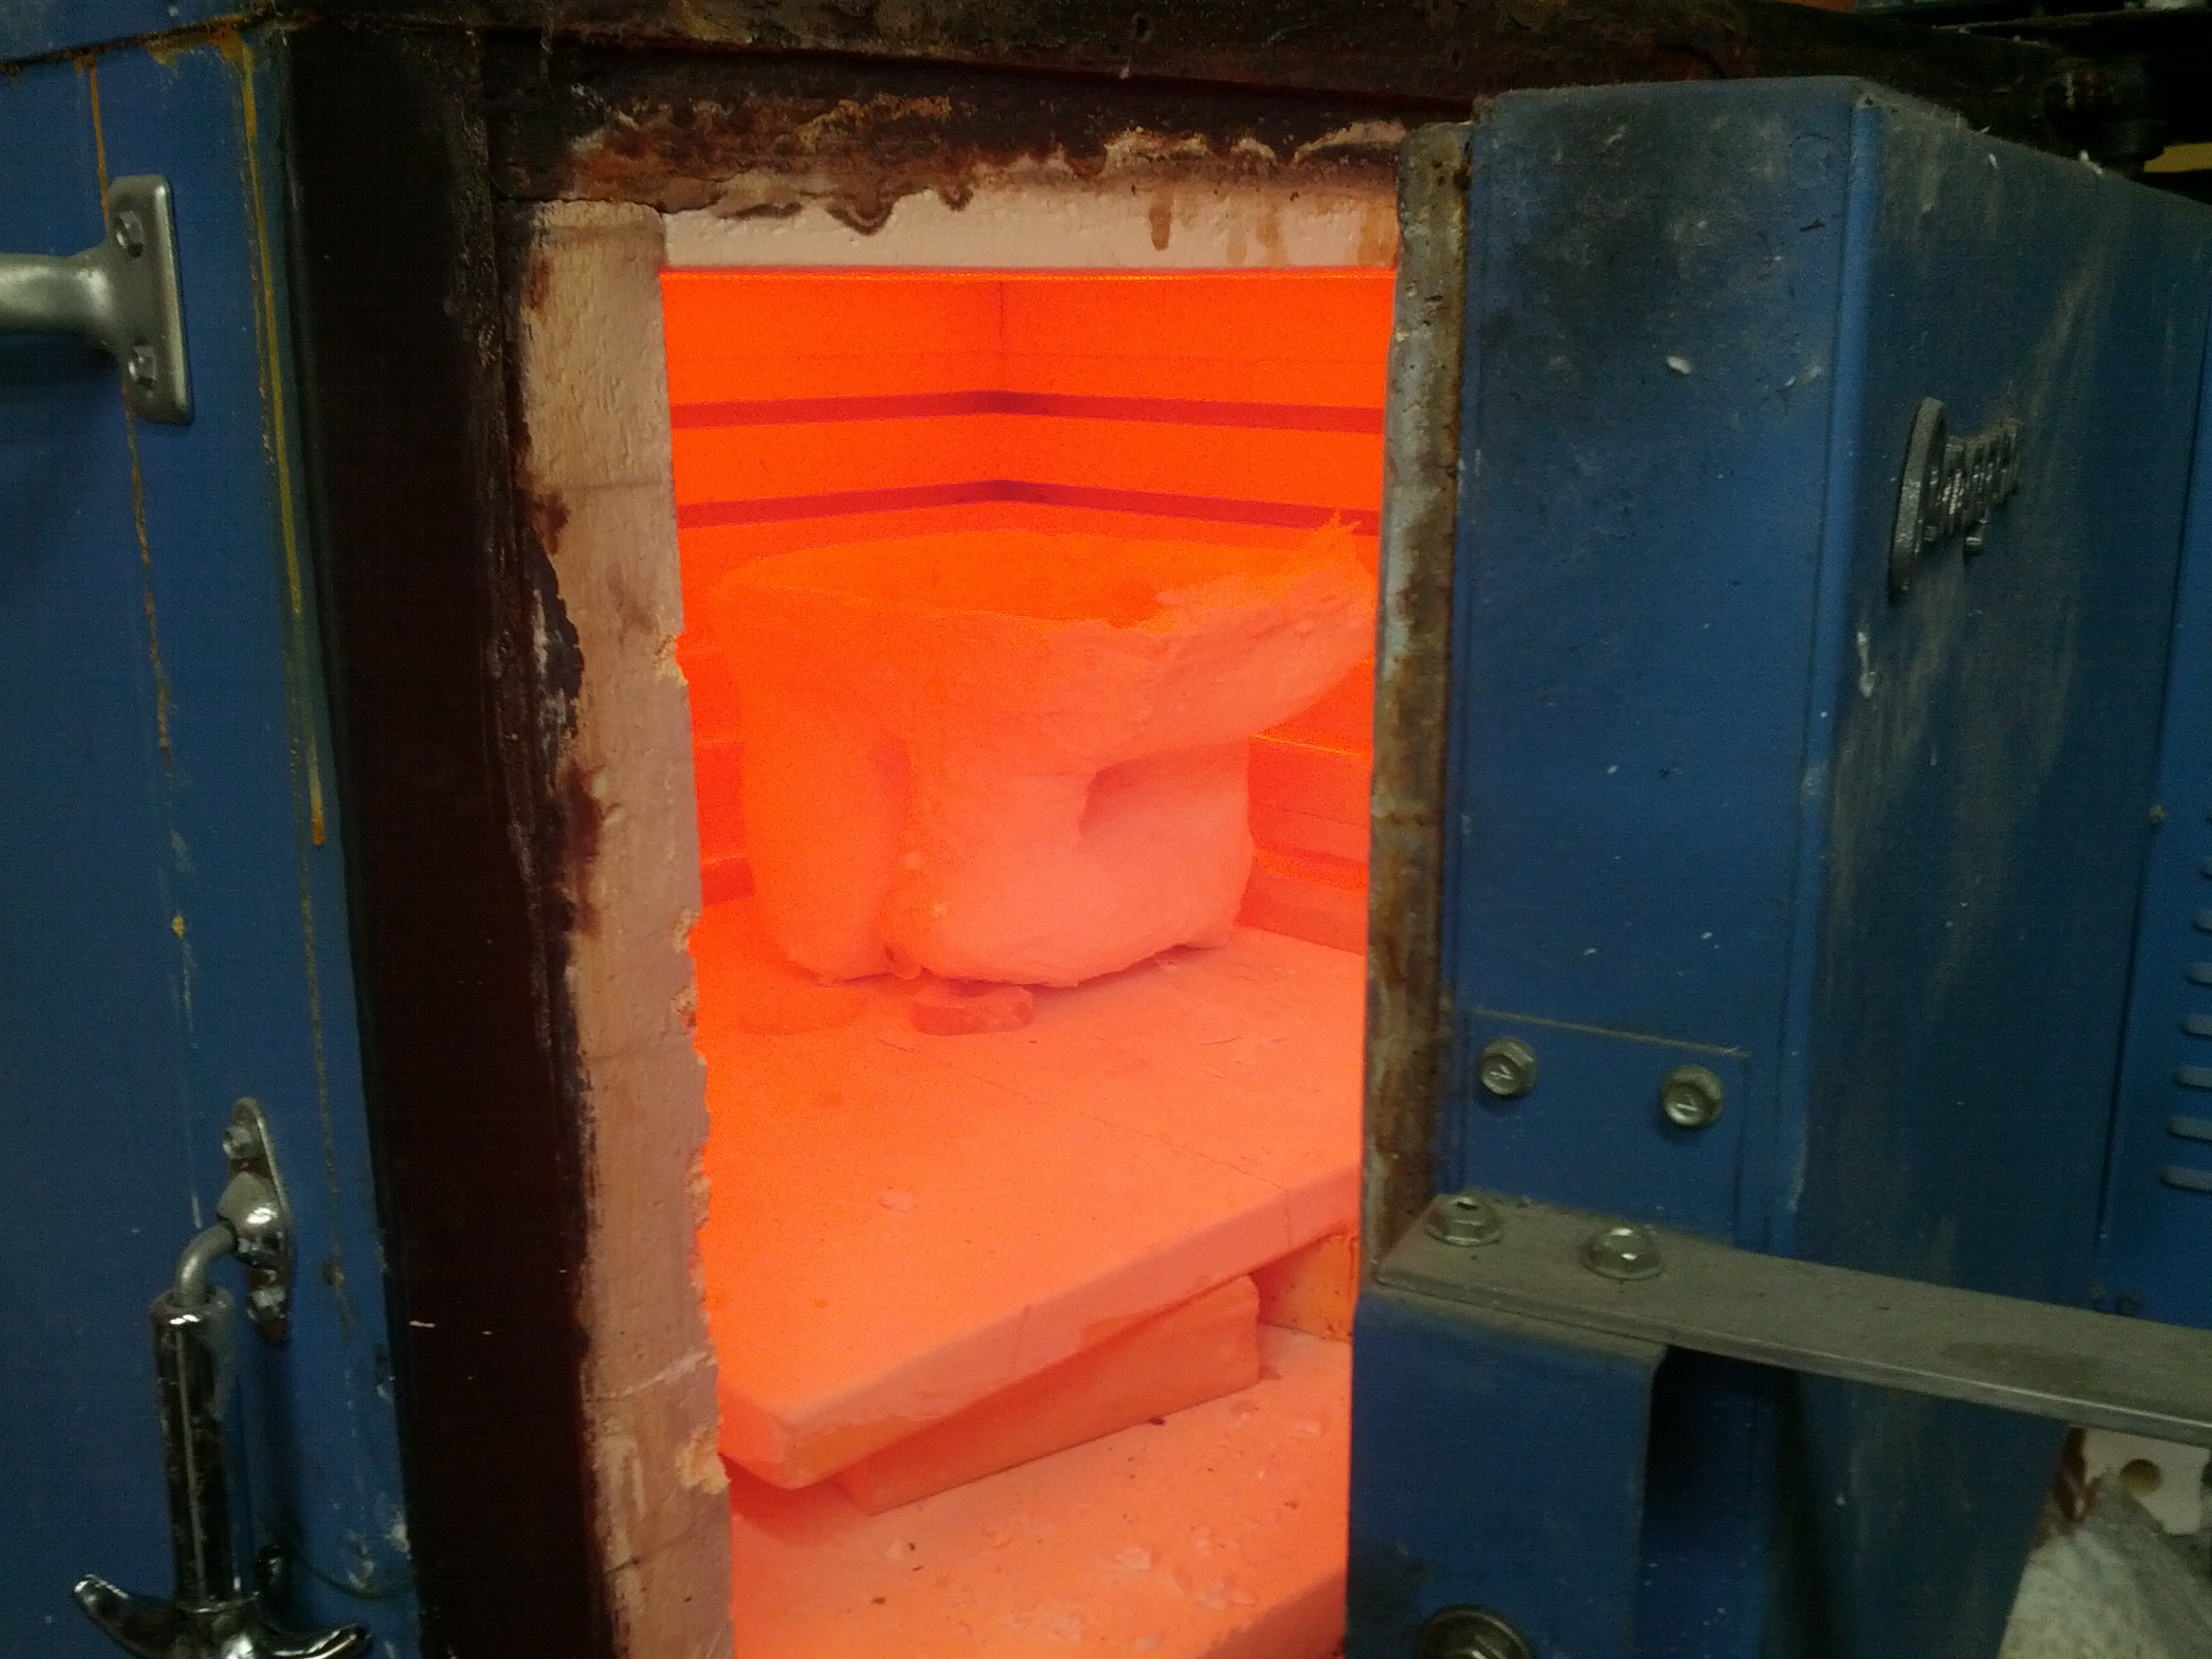
The following figures illustrate the process. From left to right, we have the original shoes, the dark brown wax models, the plaster/silica mold, and the mold being fired in the kiln. The mold contains a reservoir where we place glass chips. When this is heated in the kiln, the glass melts and fills in the shoe area. Of course, be sure to melt out the wax before heating in the kiln, or you will have a large fire, and a bad result.


As described so far, I think this is the easy part of the process. The harder part is making the wax model. Just how do we do that? We could start with a wax block and sculpt it by hand, but I want to capture the detail of the real shoe. In order to do it, we’ll start a fairly tedious process.
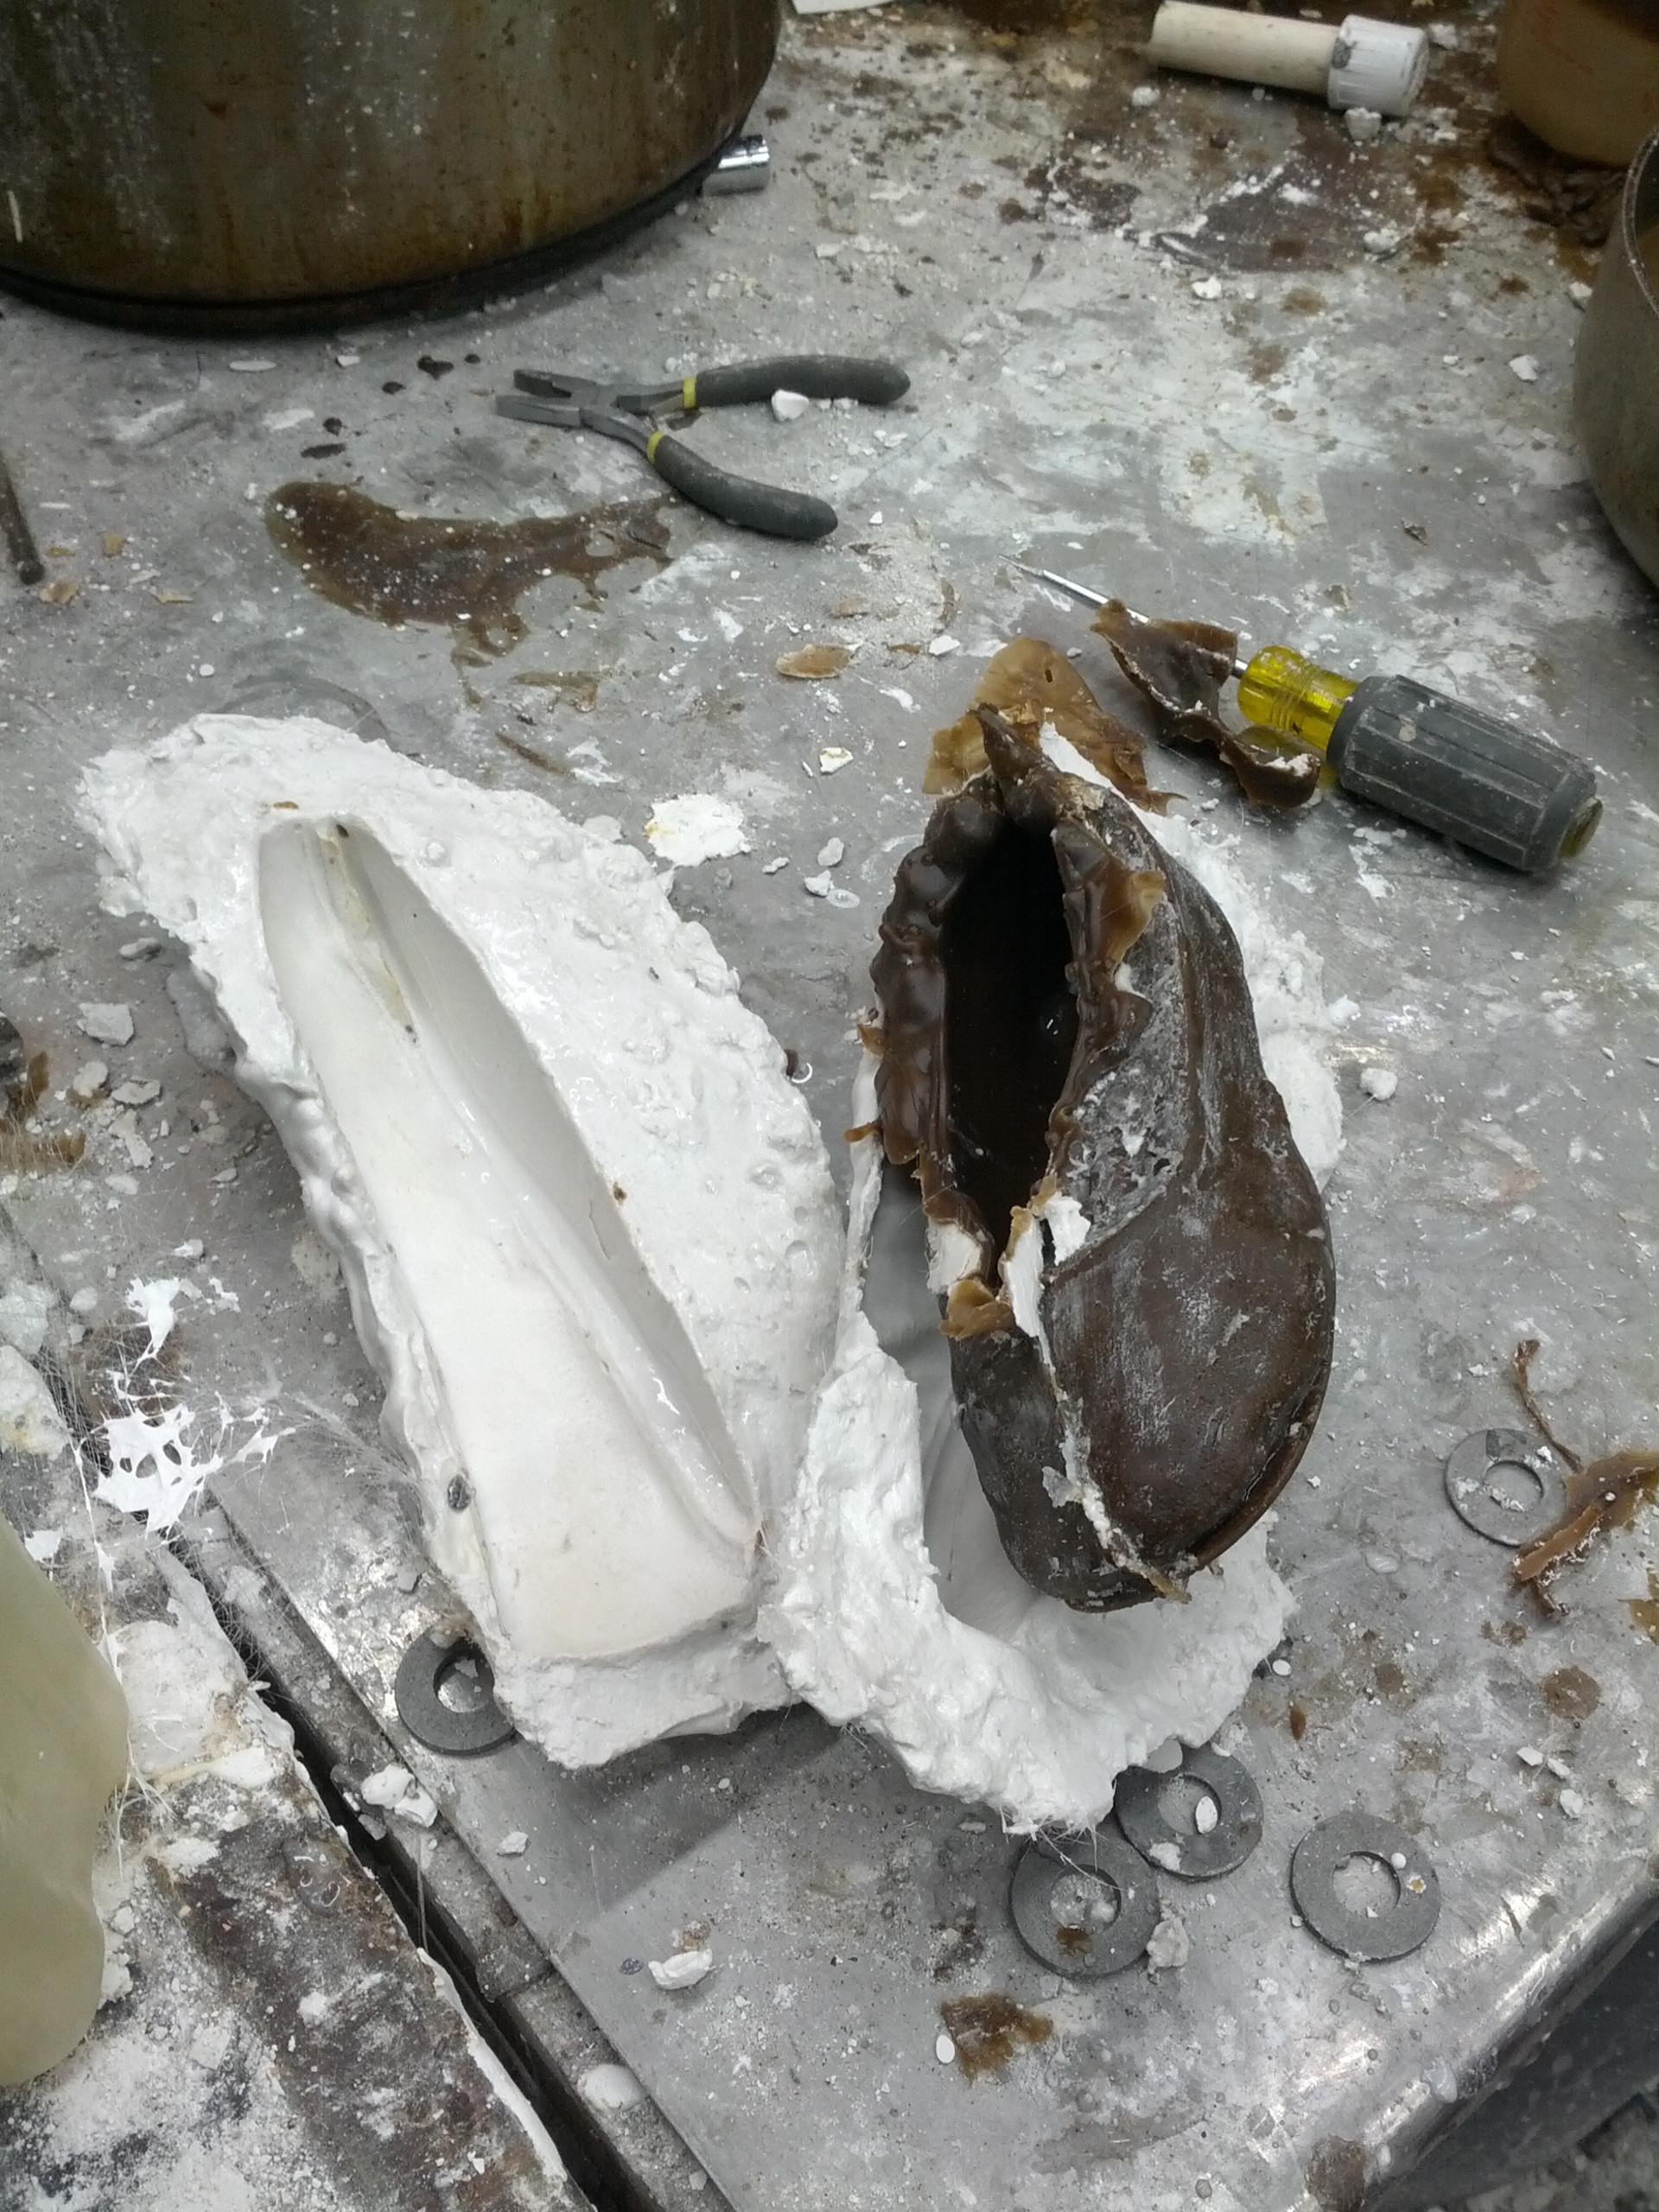
- Create a two-part plaster mold around the shoes. It is in two parts so that after we are done, we can separate the parts and remove the shoes.
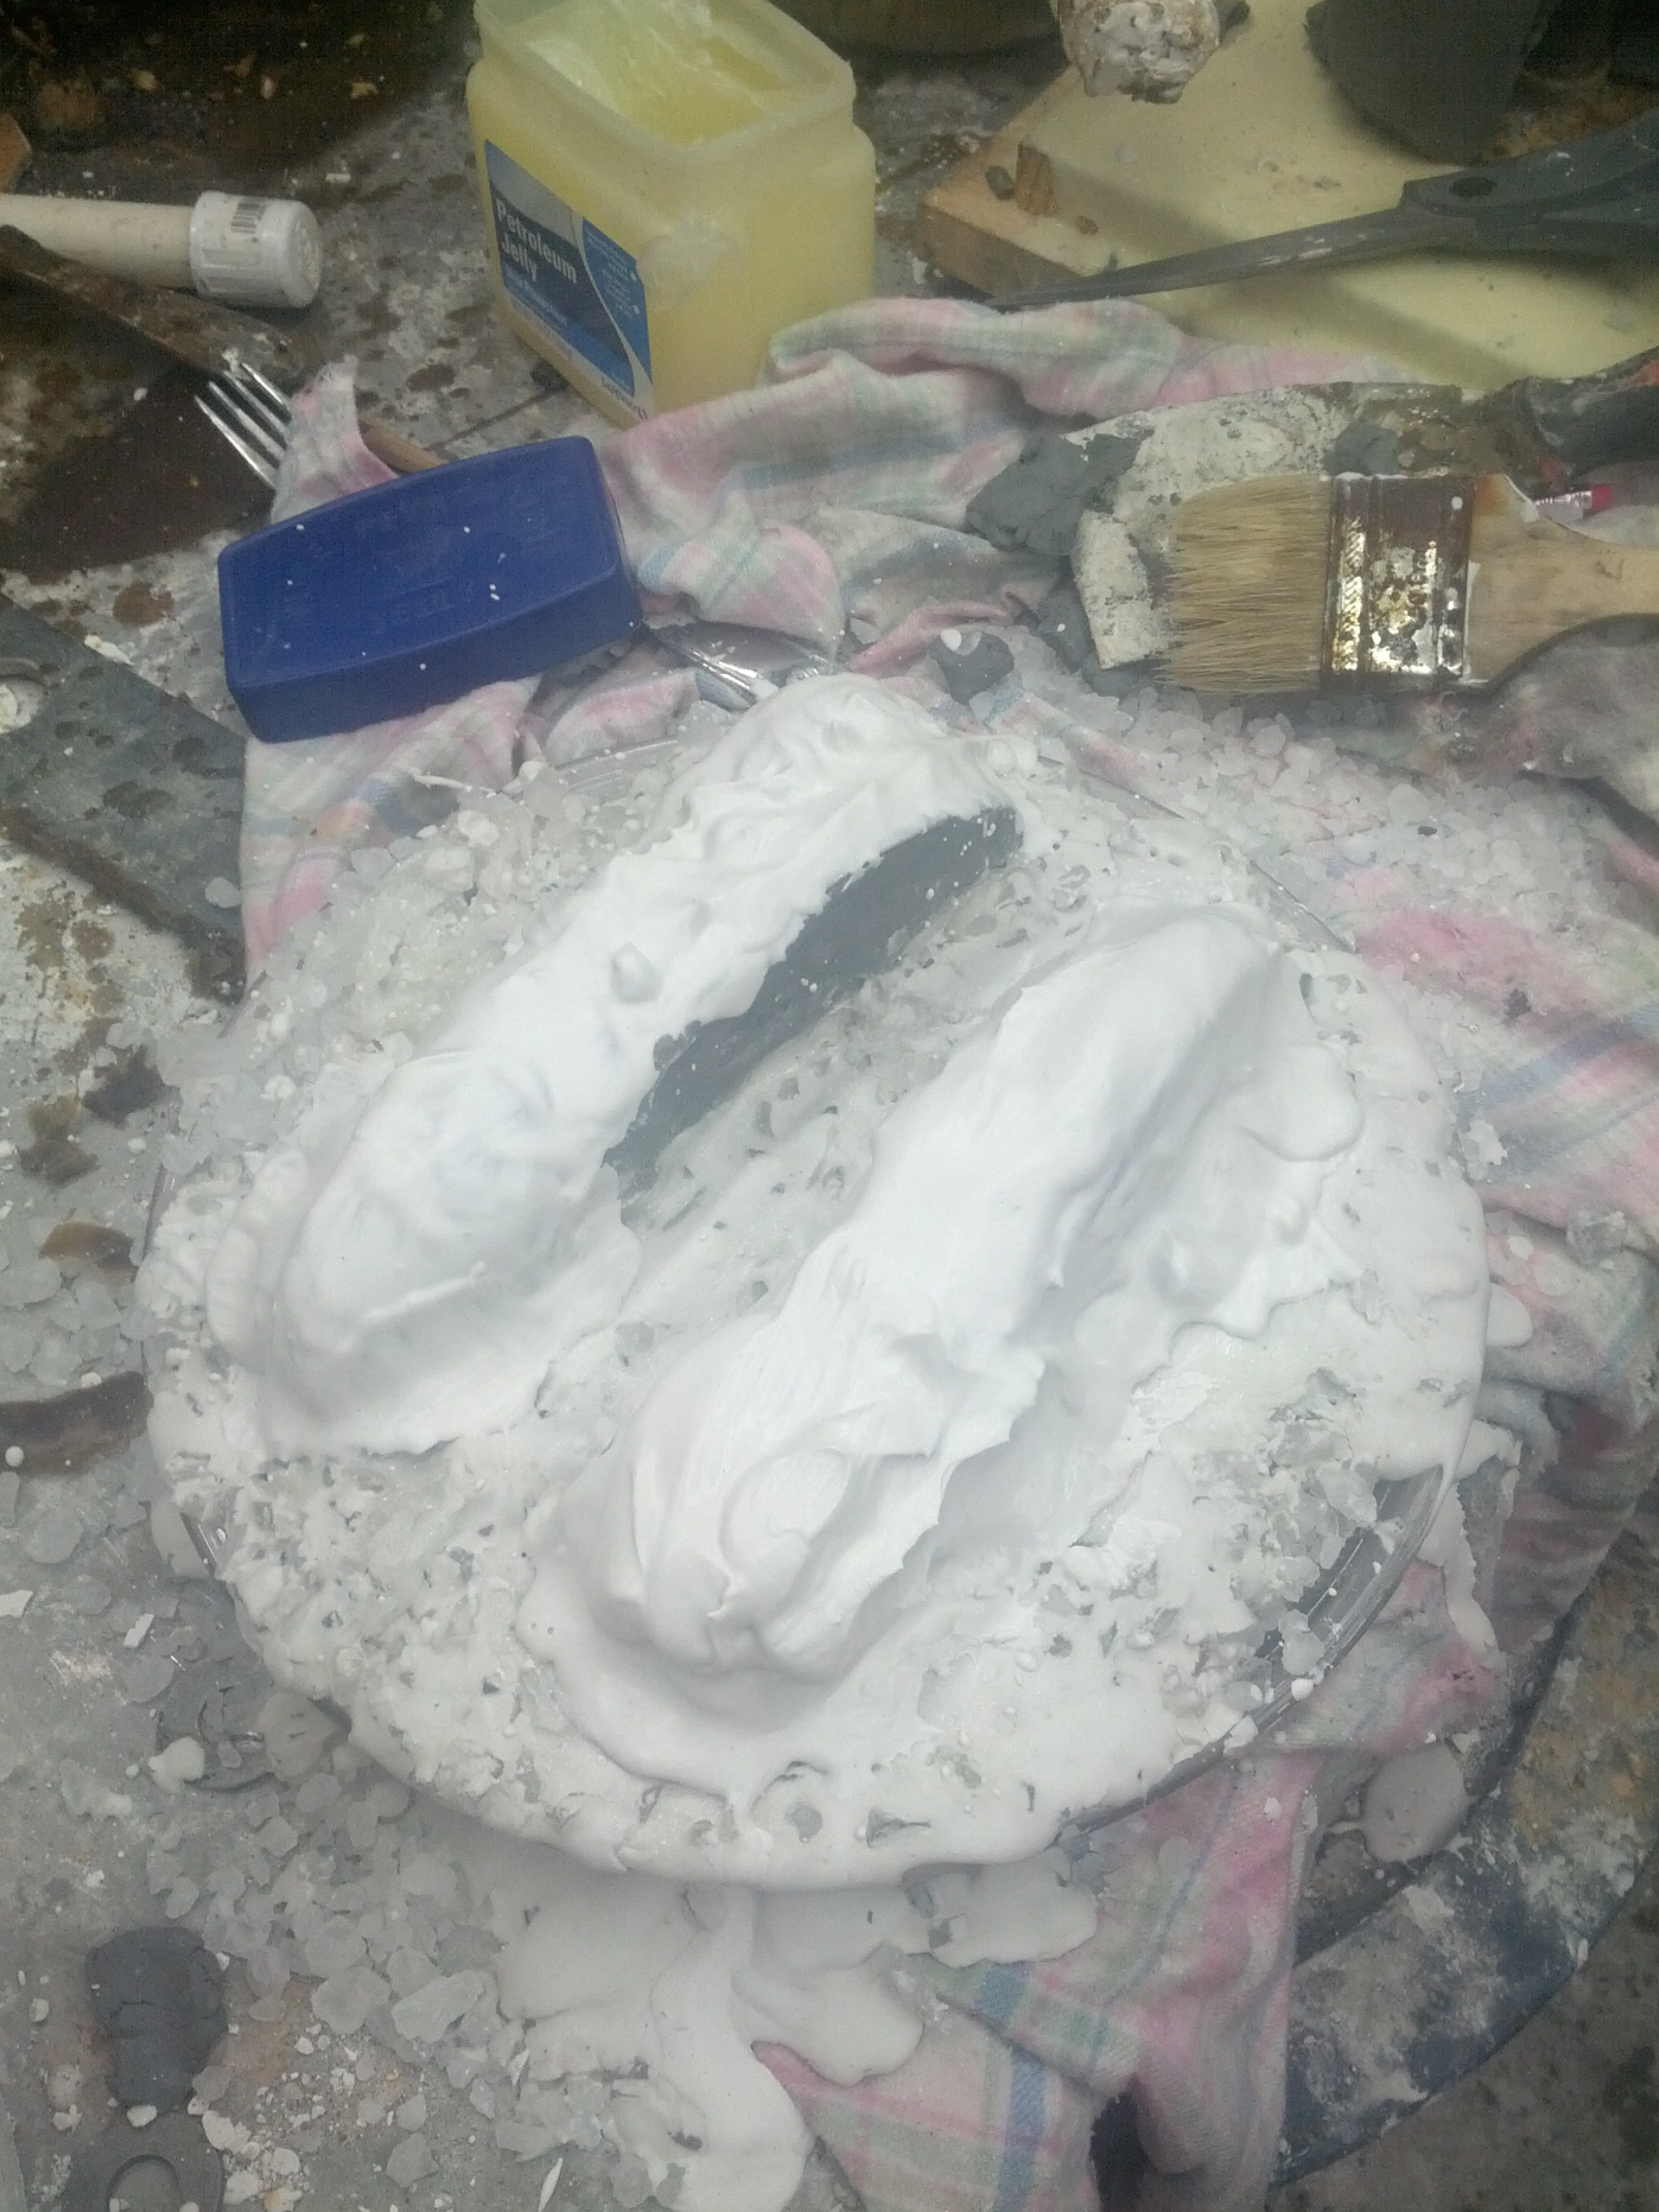
I generally do this by embedding the shoe in sand halfway, and then painting on the plaster onto the top half. Once that hardens, remove it from the sand, flip it over, coat everything with vaseline to prevent sticking, then paint plaster onto the other half. This tends to work pretty well — the only problem being how to keep the sand from sticking into the plaster. I usually wind up scraping it off of the plaster by hand.
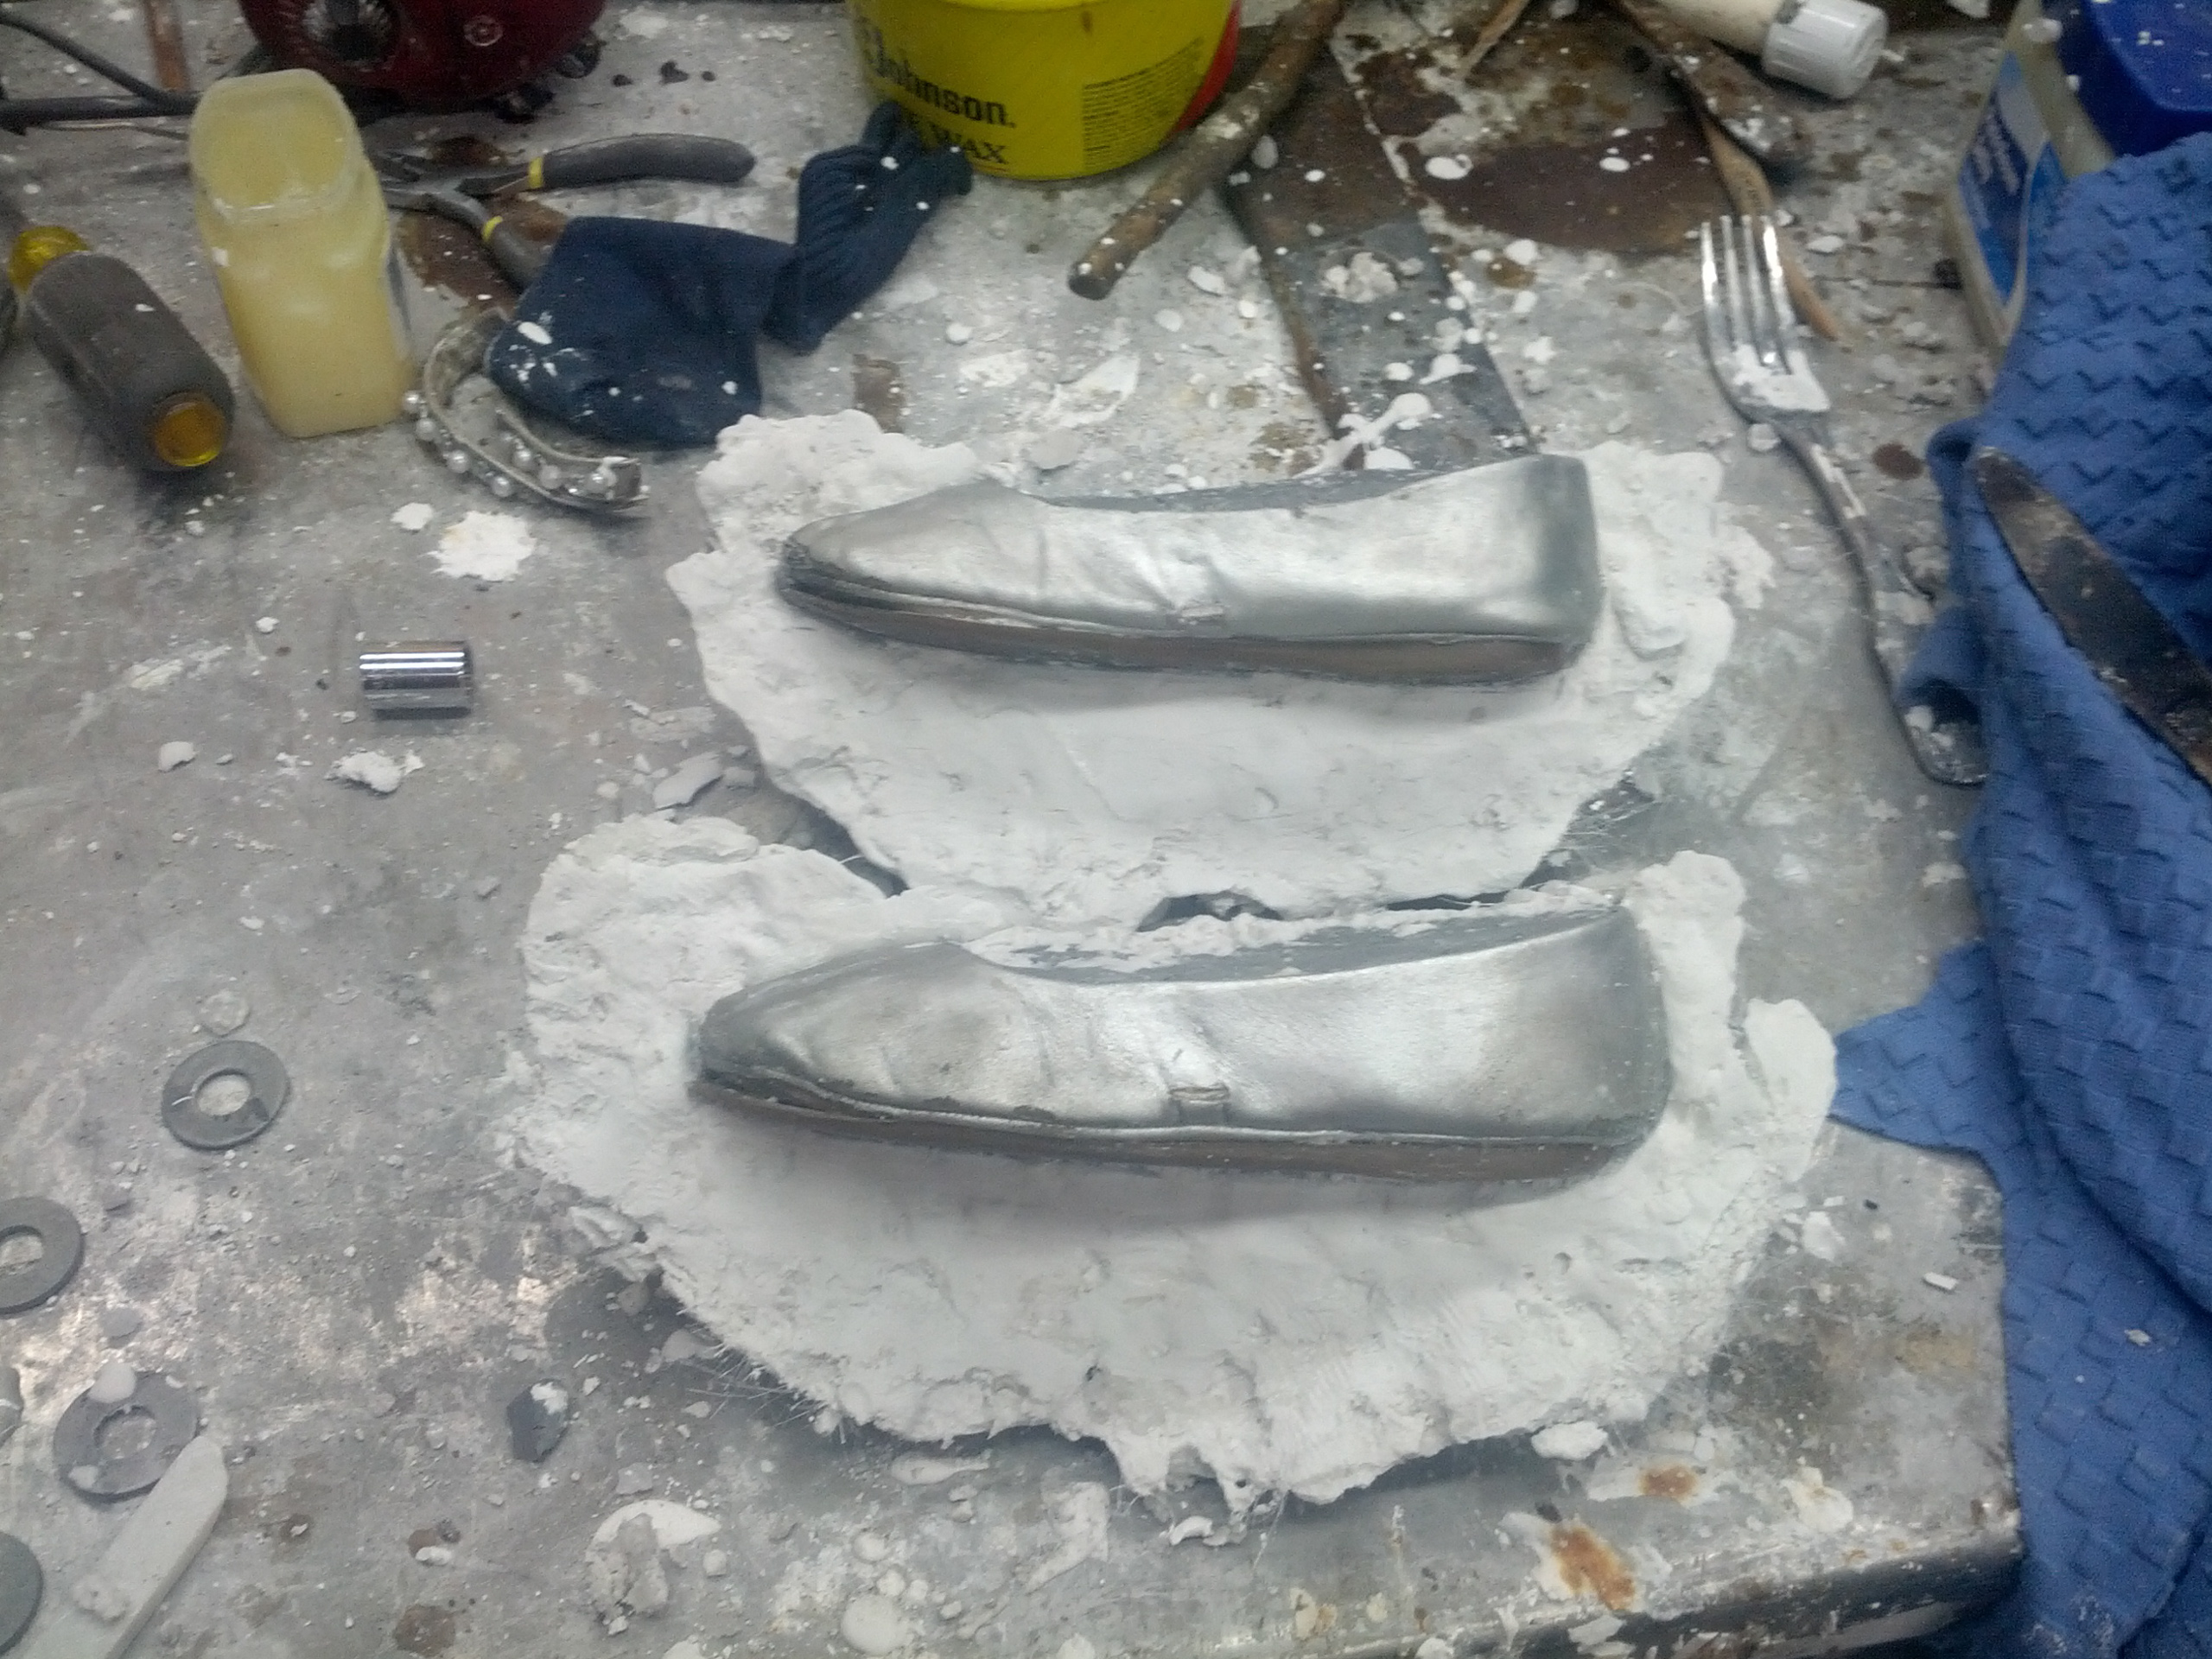
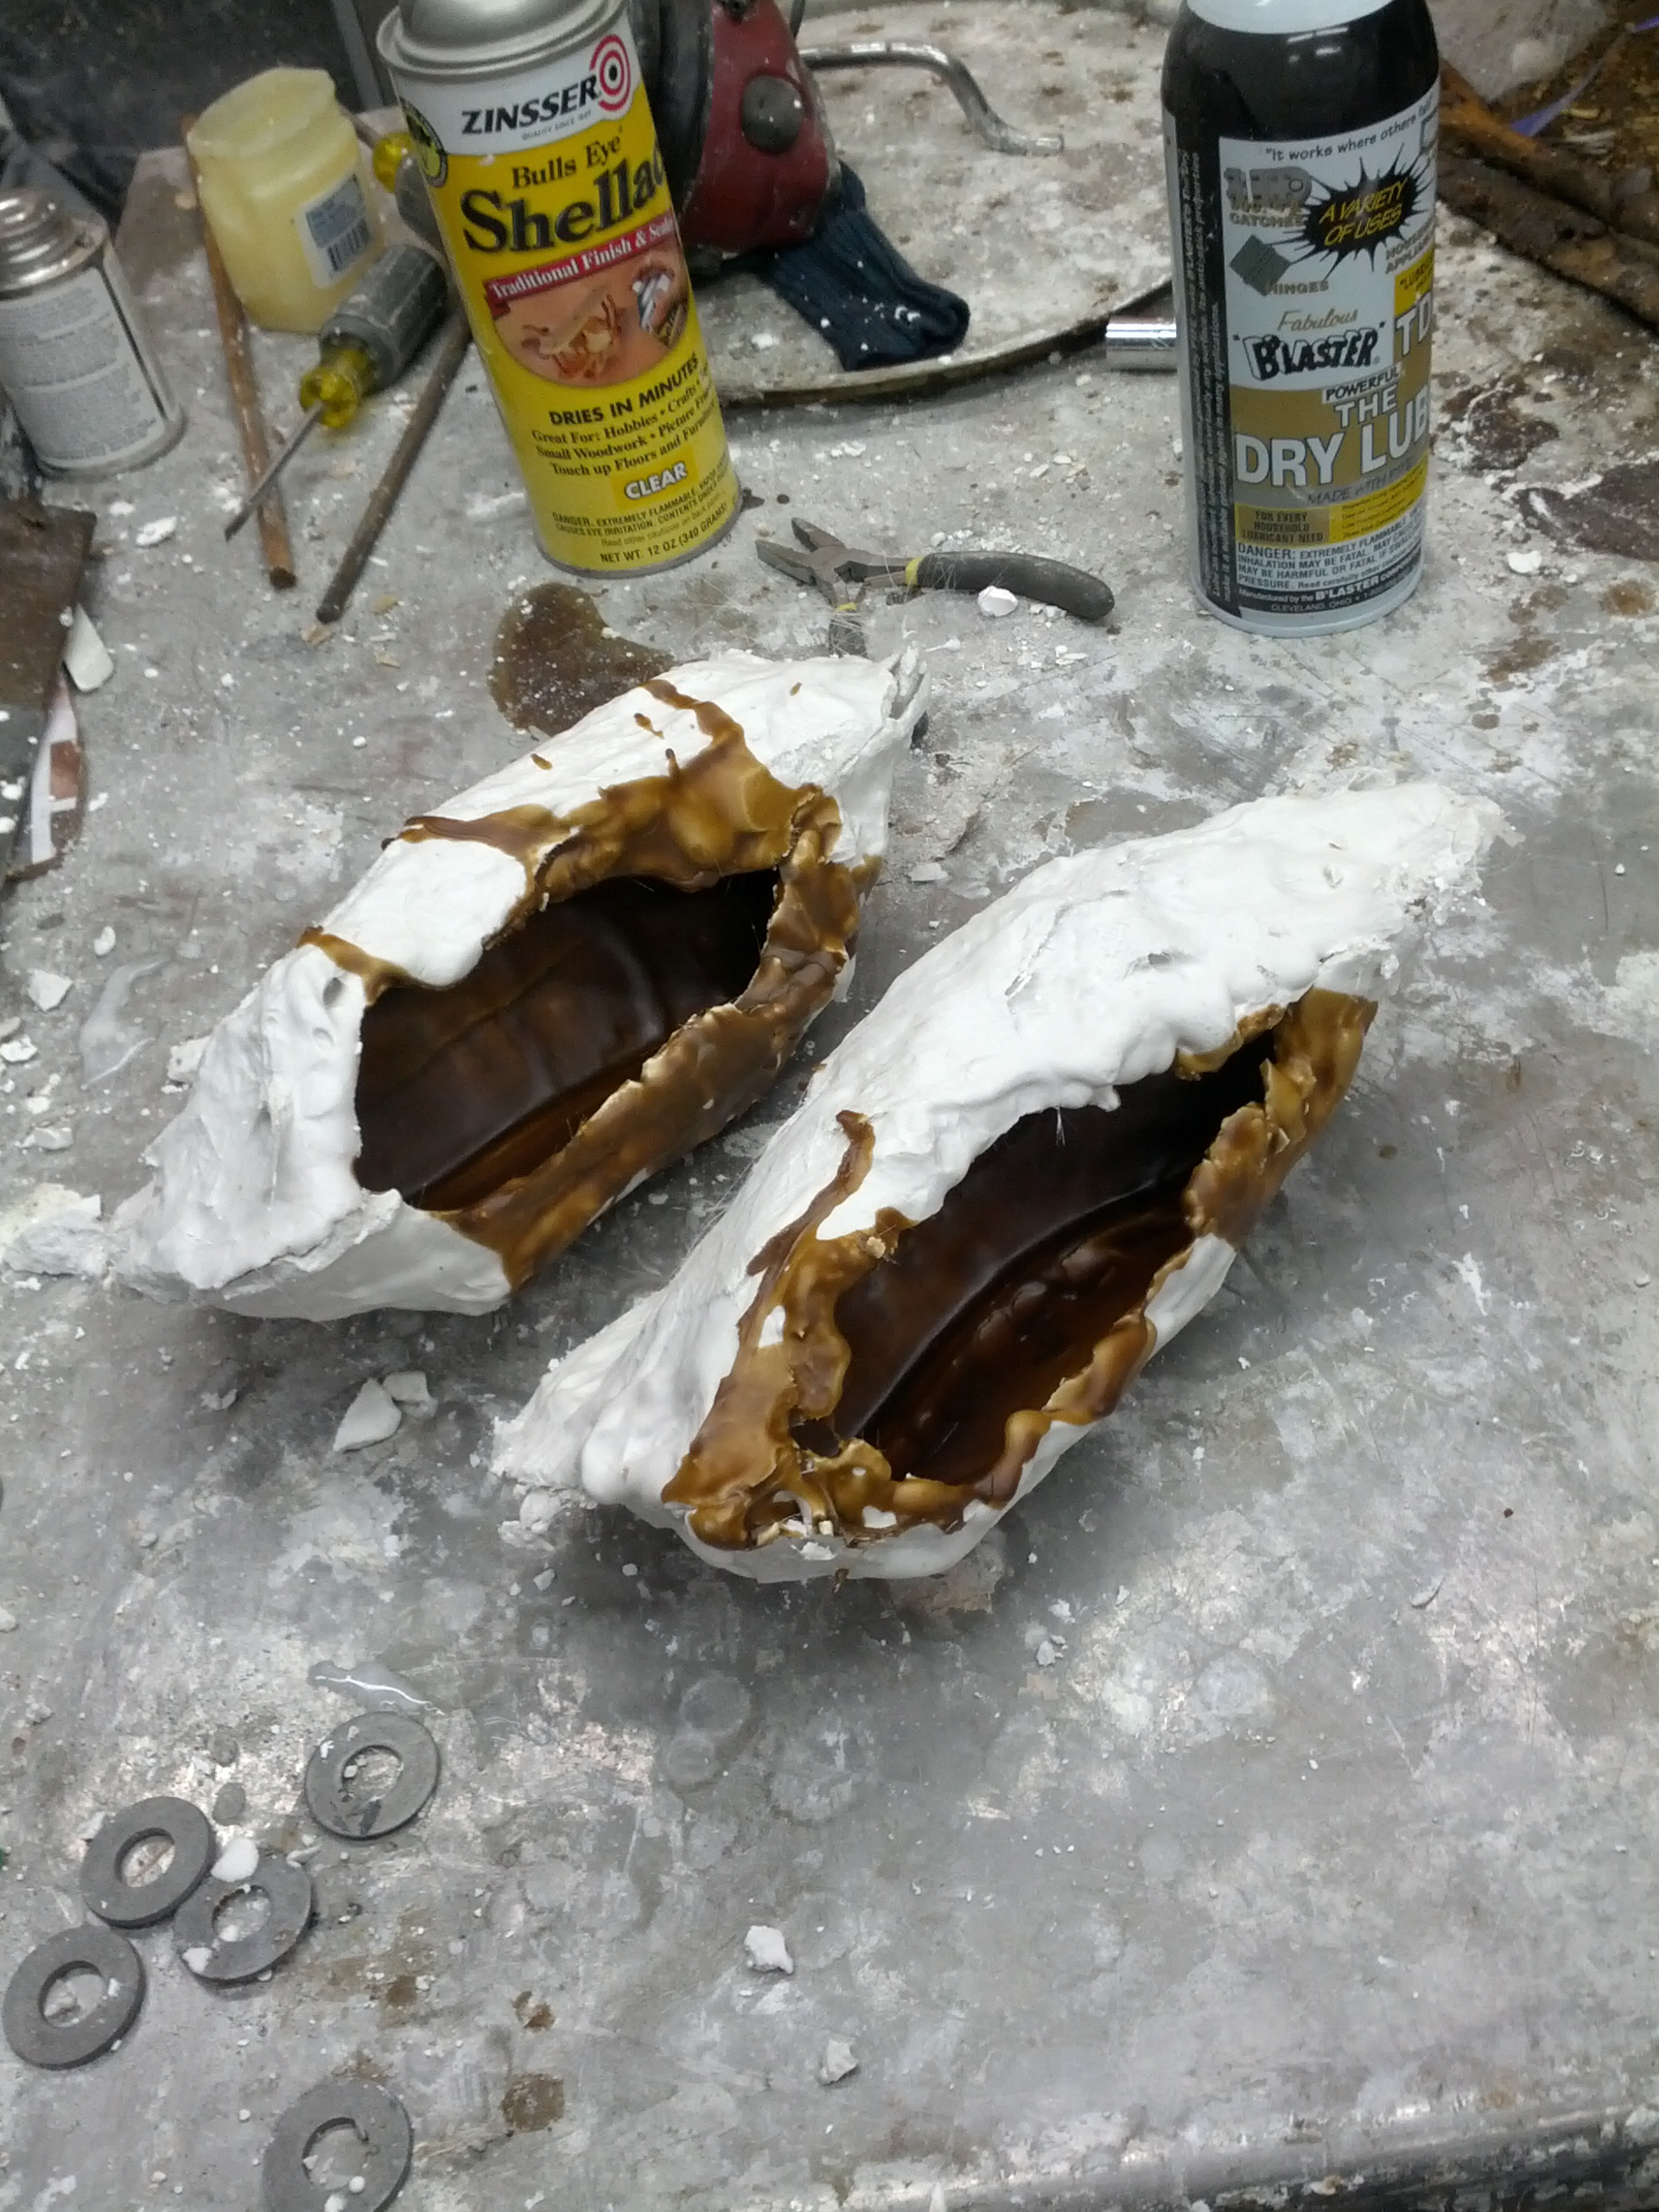
After the plaster has hardened, we now pull apart the two halves, and remove the shoes. Next,
- Put the now-hollow mold back together and seal it.
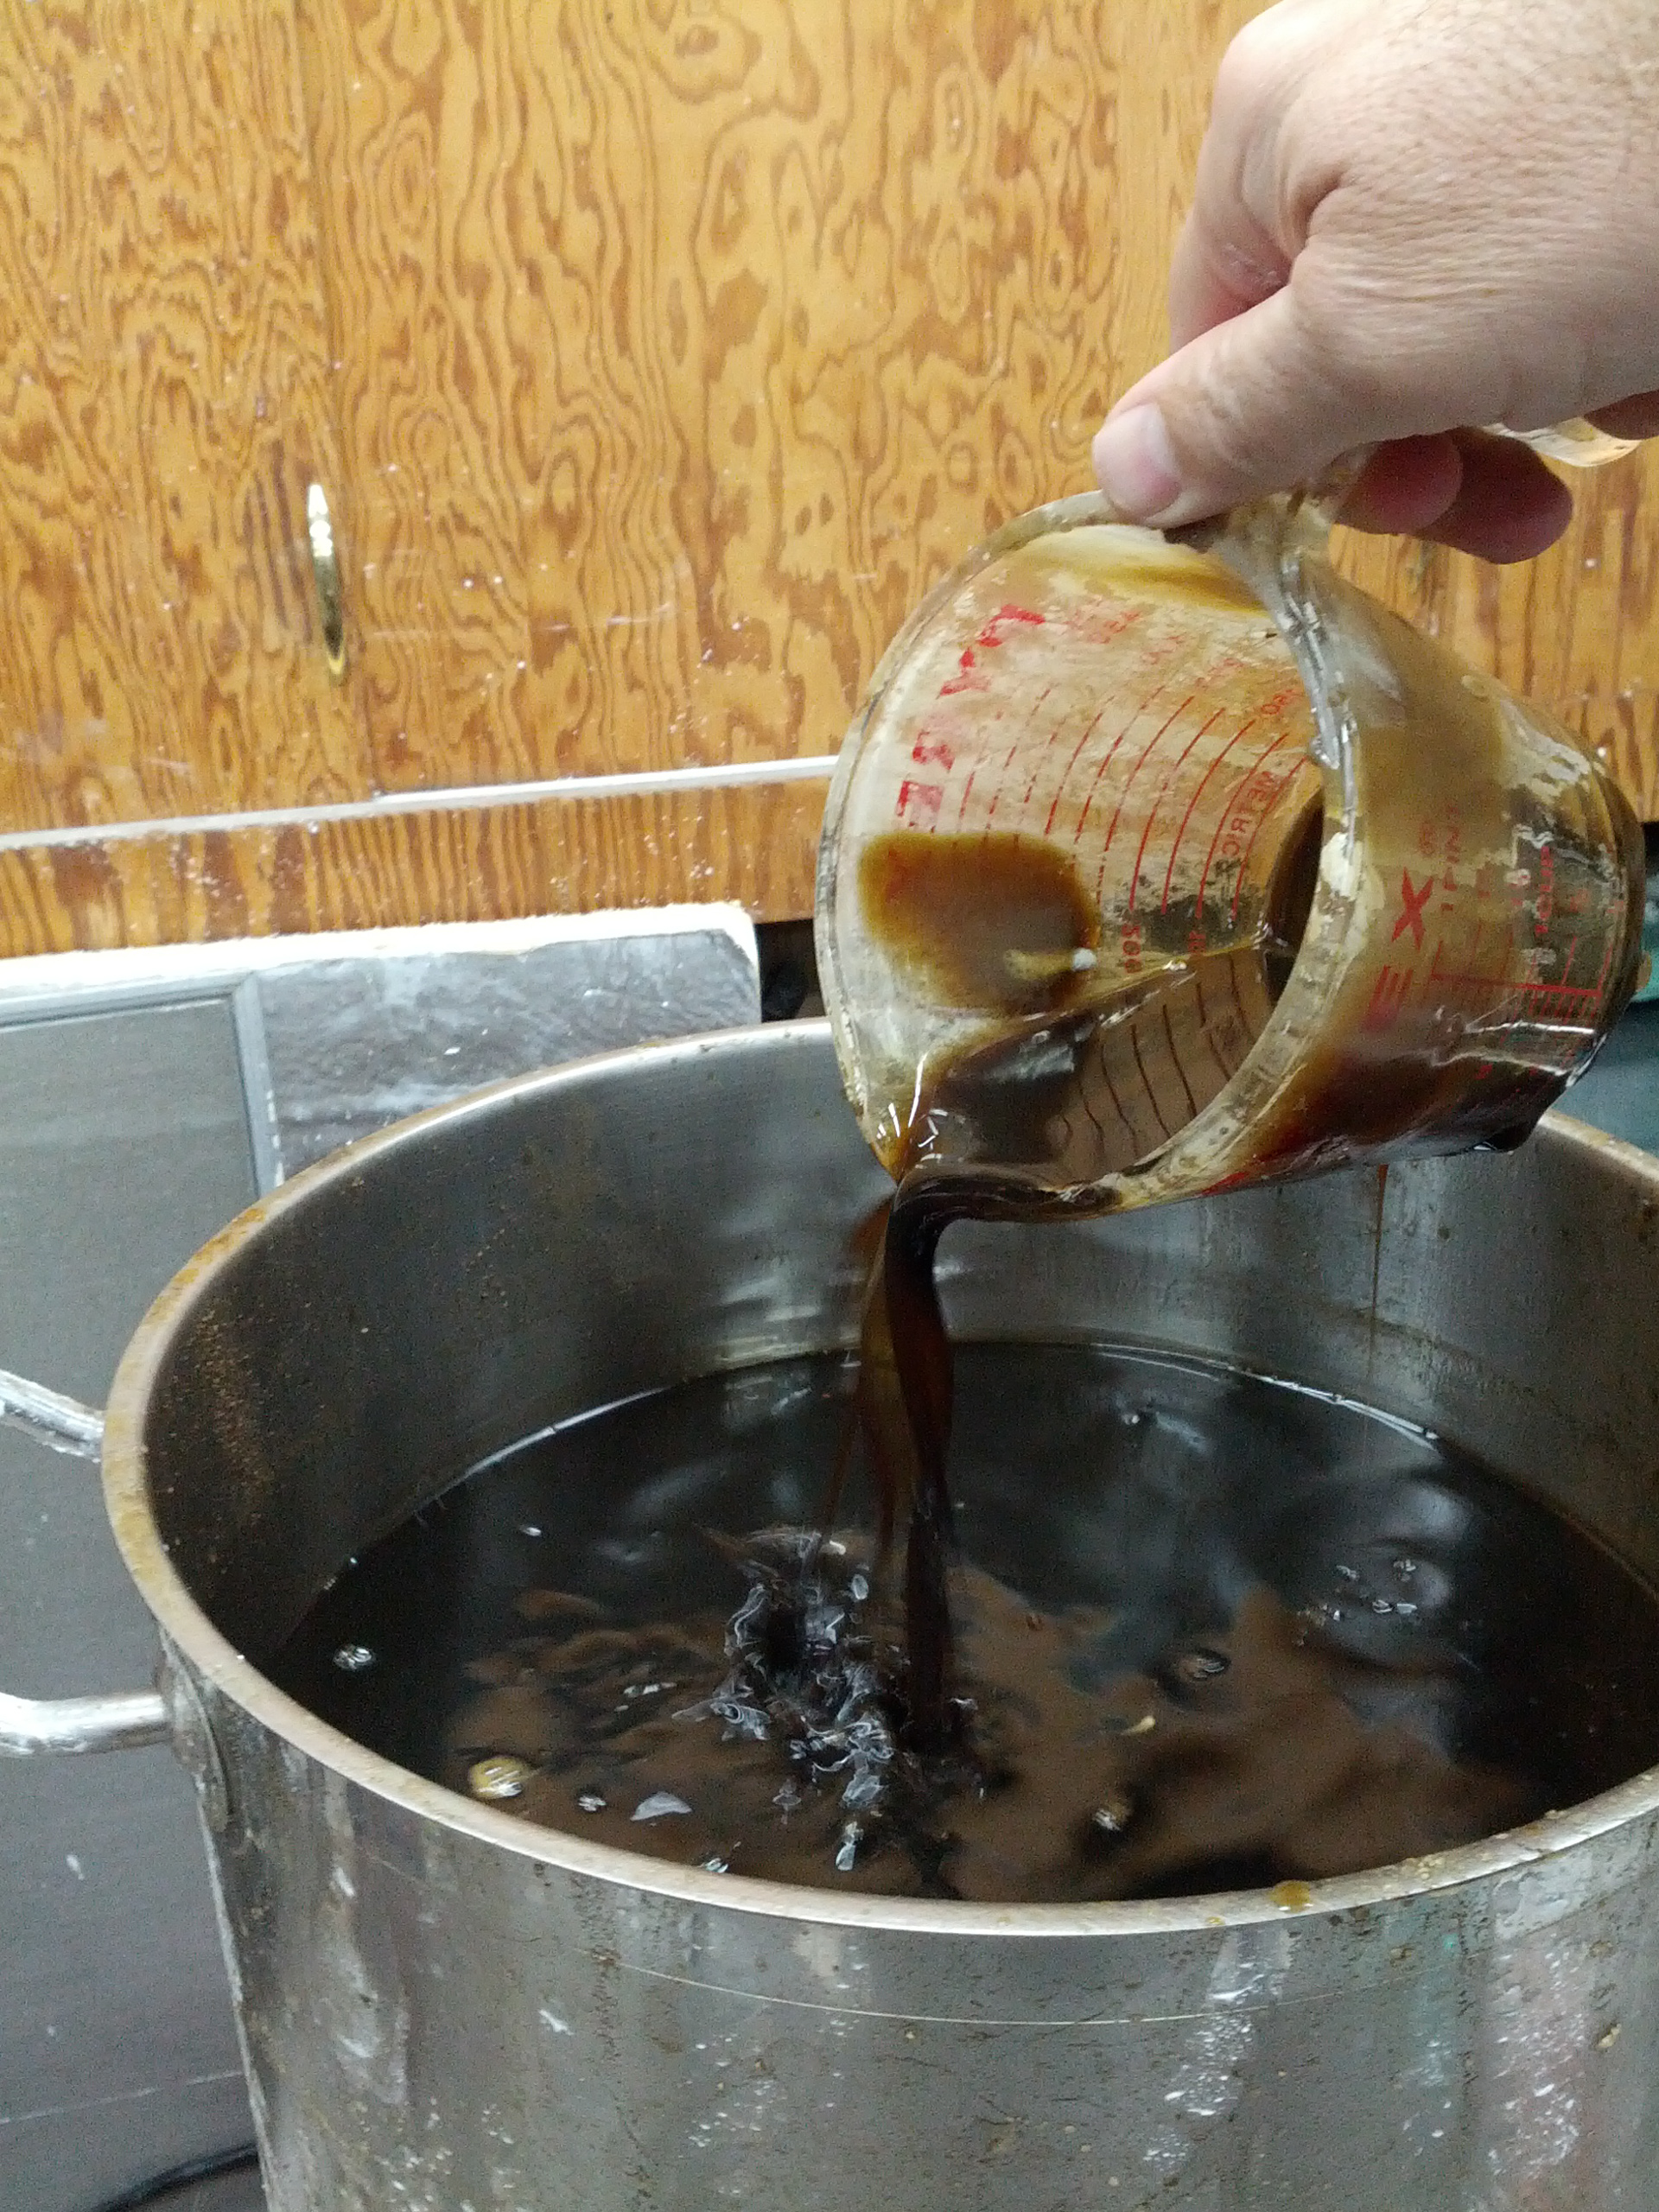
- Pour hot wax into the mold and let it cool against the sides to achieve the proper thickness.
- Pull apart the mold again, withdraw the wax model, and clean up any problems.
Voila! We’re done.